
Renovations: PART I


After a good month of discussing and a little negotiating we managed to snag the house for a really good deal. Casey loves to surprise/trick me, and since I'm 100% gullible I tend to fall for it every time. For a while we both decided we probably couldn't get the house, despite my enthusiasm for it. I remember being in the car with him and he just casually said, 

Casey: So how would you feel about living in Ennis?
Me: Um... yea I'd like it. Why?
Casey: Okay good, cause we're home owners. We just bought 605.
Me: What?!? *squeal*

There was a lot of work to do so we started right away. It was the beginning of August in Texas, about 98 degrees, and no electricity yet in the house. So sweat poured and tensions were high. One job I knew we could both tackle together was taking up the vinyl floor in the kitchen. I was hopeful since the wood floor went through the living and bedroom that there would be nice wood floors underneath. And I was right.
I can tell you right now what the worst job/hardest job I did on the house was. Taking up vinyl flooring is the worst. First it's glued to plywood so nasty stickiness every piece you peel off, then its screwed down about every square inch. Not kidding. So I'm using a metal scraper and sliding it across the floor as hard as I can and praying that I don't hit a screw.
Parts of the kitchen floor had so many screws I couldn't understand why someone would need that many. I added a picture of one of those sections of floor and one of some of the random holes that must've been from old plumbing.
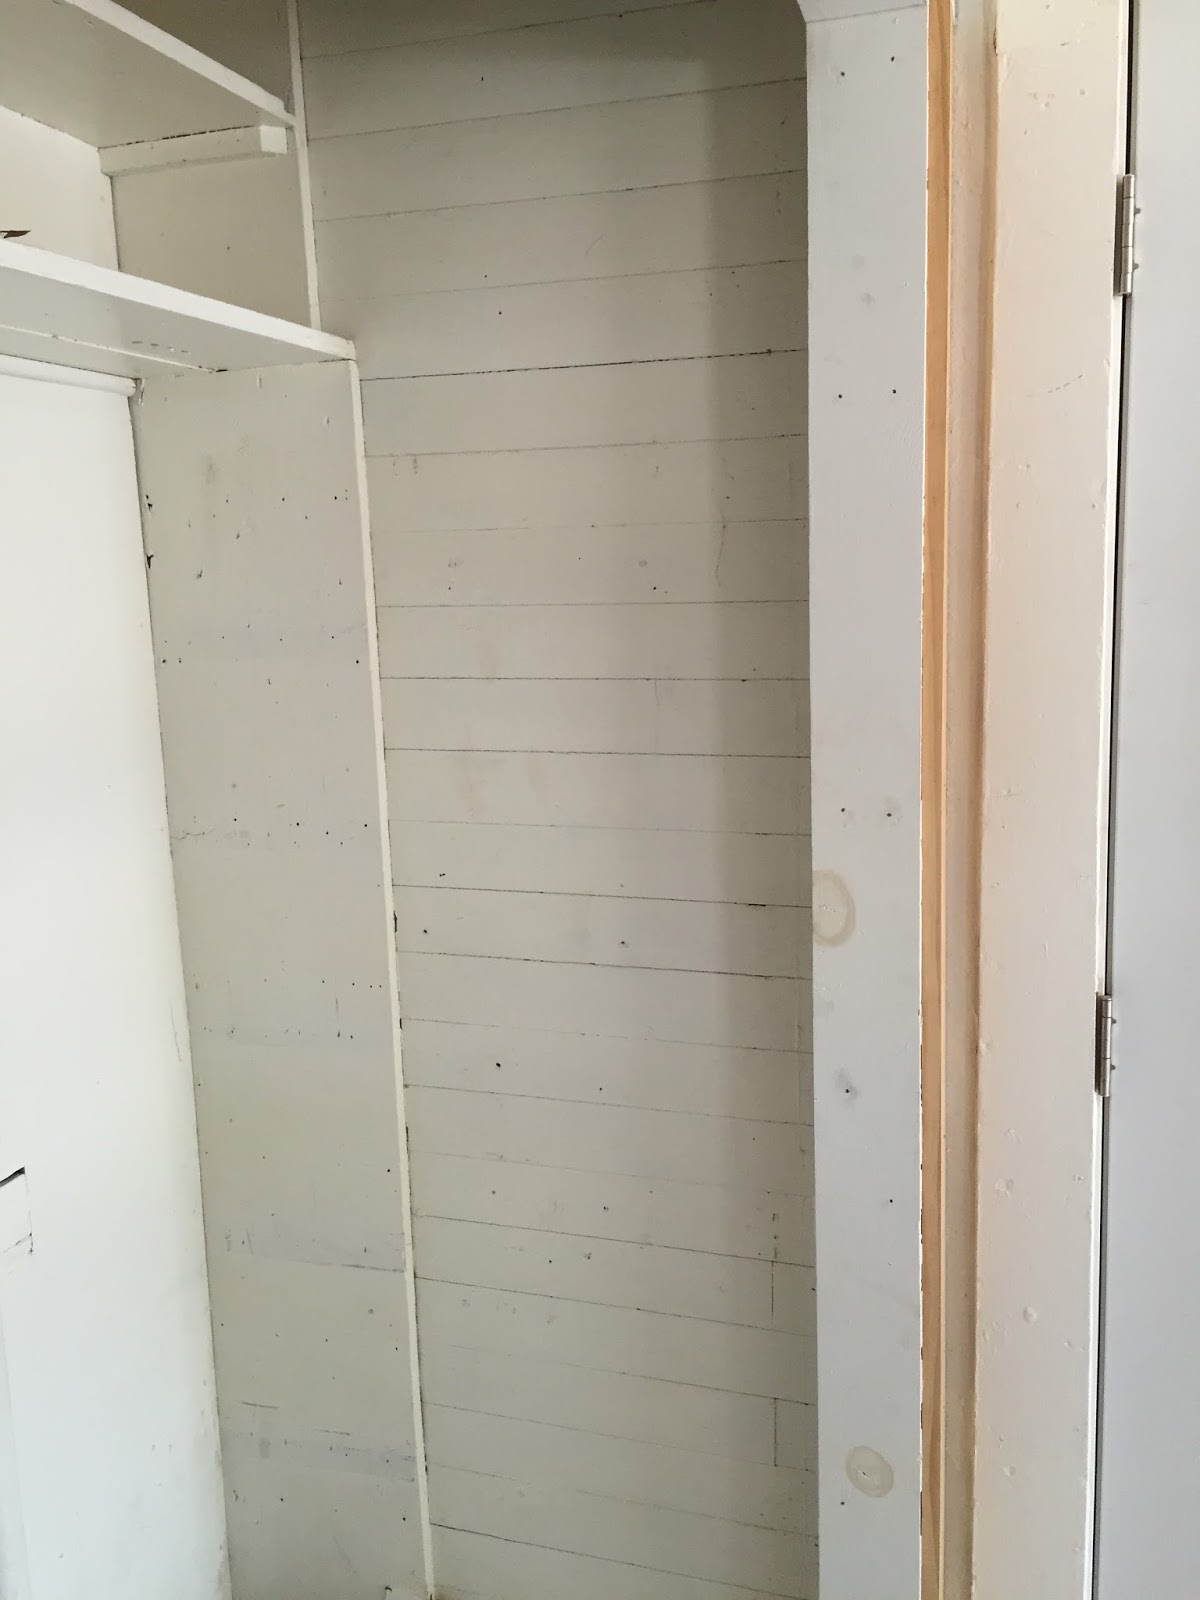
I was excited to see shiplap on the exterior wall in the laundry area. Channeling my inner Joanna Gaines of course. And I peeled off a big piece of wall paper that had been nailed to the ceiling and then painted. 
More wood paneling on the ceiling too! And green wood paneling at that. This green color popped up multiple times in the rest of the renovations.

PART II coming soon.


Comments

Popular posts from this blog

Deep Diamond Tufting.

I'm not sure why I wanted to make a tufted headboard. Maybe I saw one in a film or something but before too long I was combing through every tutorial or YouTube video I could find about it. That was a year ago. So this weekend I put my big girl panties on and summoned the courage to finally build my headboard. My favorite tutorials found  here , and here . Mine certainly won't be as good as theirs so I'll keep it brief. I think my total for all materials came to around $85 but then again my math is horrible so...  Make sure you take advantage of JoAnn's incredible sales. I think I saved $60 dollars when I went. I scored on my fabric too, only $9 a yard.  The most annoying part of this process, as all blogs stated, was the buttons. And I'd have to agree with them. They were so small. The fabric was so thick. The little tool that pushes the button together sucks so... with Mummy's help, my solution was pliers. Just use pliers. It will save your finger...

Animals For Days. [Part I]

  This is an extremely delayed post, but I wanted to wait until some of the pieces got fired so I could show you the finished results. These high school kids really blew me away with their creativity. All these pieces are made from two pinch pots so they are all completely hollow. The students came up with their own design for the animal and after I taught them how to create a hollow 'egg' shape they added all the features. I also couldn't get enough of all the minions. They were the cutest things. More pictures to follow.   K

The Stinnett's.

I absolutely loved taking photographs of the Stinnett family. There were certainly lots of laughs along the way, which made my job easier. A few melt downs (those trains will get you all the time), but nothing this sweet family couldn't recover from. They're such a fun, silly lot and it was my pleasure to capture some moments for them.  [All photos taken on the Canon Rebel T3i] For questions about sessions and pricing, message me on Facebook, or email at katie.e.hudson@gmail.com. K