
I'm not sure why I wanted to make a tufted headboard. Maybe I saw one in a film or something but before too long I was combing through every tutorial or YouTube video I could find about it. That was a year ago. So this weekend I put my big girl panties on and summoned the courage to finally build my headboard. My favorite tutorials found here, and here. Mine certainly won't be as good as theirs so I'll keep it brief. I think my total for all materials came to around $85 but then again my math is horrible so...
Make sure you take advantage of JoAnn's incredible sales. I think I saved $60 dollars when I went. I scored on my fabric too, only $9 a yard.


The most annoying part of this process, as all blogs stated, was the buttons. And I'd have to agree with them. They were so small. The fabric was so thick. The little tool that pushes the button together sucks so... with Mummy's help, my solution was pliers. Just use pliers. It will save your fingers and hopefully you'll not loose ten buttons in the process. (Buy extra button covers!)

At Home Depot I had them cut down the pegboard to the size I wanted for my full bed. In retrospect I would've made sure that it was cut evenly over the holes. It will save you a ton of time trying to space out the tufts properly.

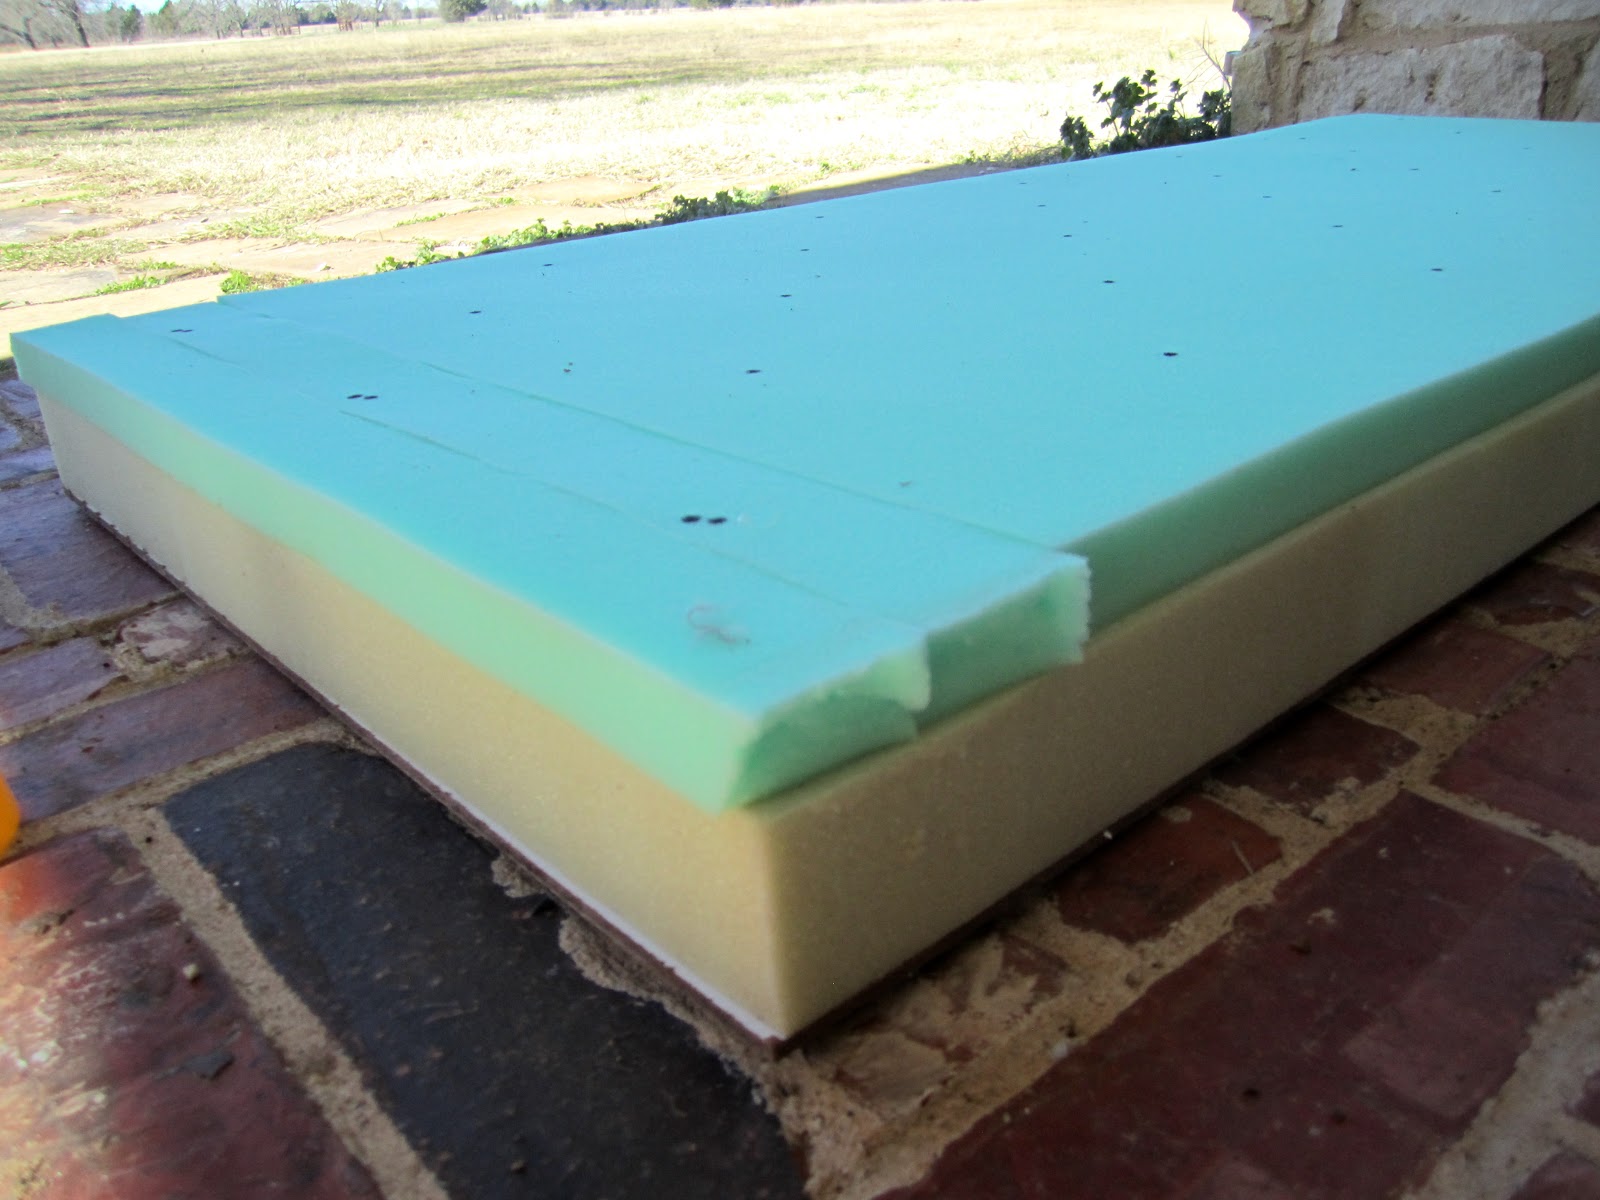
After putting marks on both sides of the pegboard I glued the foam down. A blog I read a year ago said 2" foam would be enough. Then recently I read one that said you really needed 3" to make it a deep tuft. I figured if I was gonna make one I was gonna do it right so I bought another inch of foam. The top layer of foam ended up being more squishy than the bottom so it worked out nicely. So yes, I think you would need 3". If you only have 2" then maybe add some fiberfill in the middle of each tuft.

I used a sharp cutco knife to cut out a hole for each button to sit against the pegboard. (The trick for all good deep diamond tufting.) An electric knife just wasn't cutting it for me. (Pun intended) After working on the tufting I realized that the way I had cut out some of the holes effected how the fabric was laying. So don't get too crazy and cut out too much. Try and make the holes as uniform as possible.


At this point I'd run into a problem that I didn't anticipate. The staple gun that I had borrowed didn't staple into the pegboard. So at this point I should have added a wooden frame on the back, before I started on the tufting. But I was impatient so I glued it on after I was finished. Learn from my mistakes.
And so it began. I'm not gonna lie, I was pretty nervous at this point.

I hate those buttons. (Secret: I glued some of the button covers on after they popped off while I was tufting.)


Some blogs said to tuft each row then work on the diamonds, others said to just go every which way, but all said to start in the center and work out to the edges. It took a couple tufts to get the right tension on the fabric. Some buttons ended up being deeper in the fabric than others. I guess you can't really tell at the end so I wouldn't worry about it.

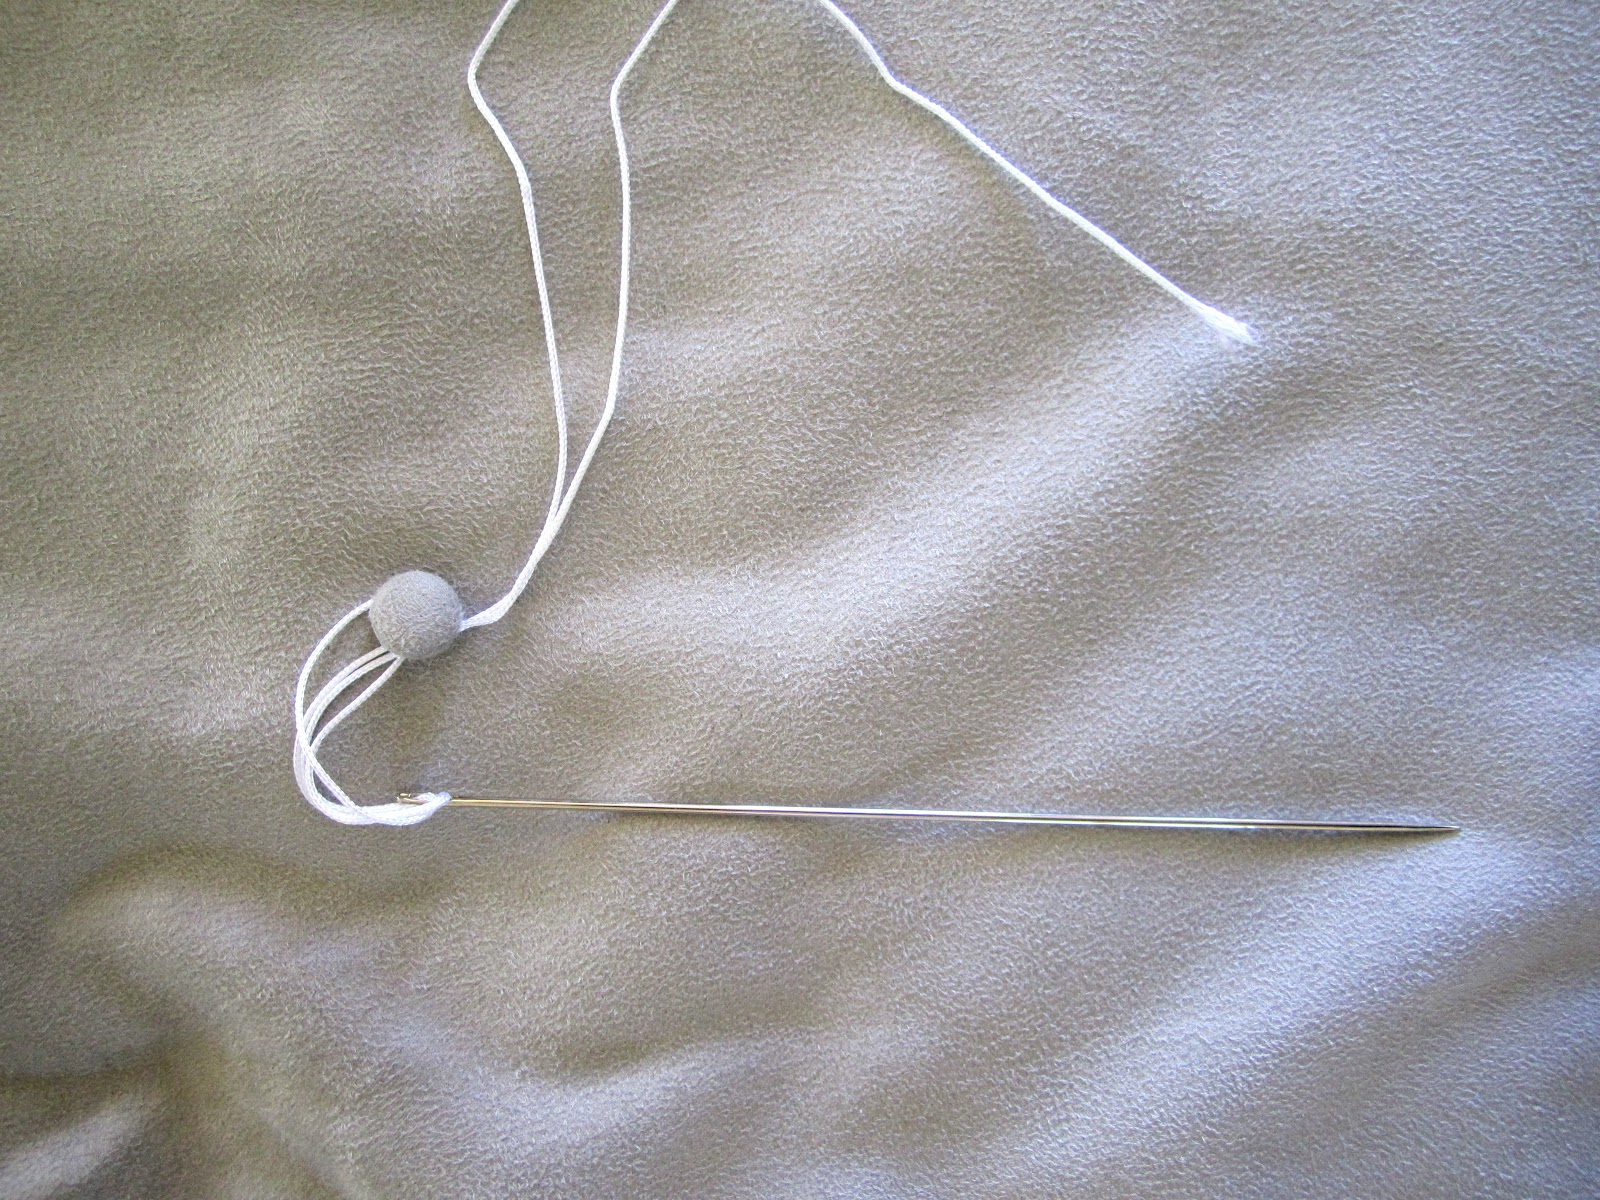
Mummy leant me some random buttons for the back to secure each tuft. This is where your fingers will start hurting and you'll wonder why you decided to make a tufted headboard. Stay with me. The end is near.


Almost finished. Mostly the diamond pattern just fell into place but I did have to help the folds along a little. And if the tension is off it's easy to take it out and redo a tuft, which I had to do a couple times.


Done with the tufts. Such a relief.

Adding the simple frame on the back. Used gorilla glue since I couldn't easily nail it down. If you were smart and made a frame before tufting this step would be breezy.

Folding the fabric over the edges took me a long time. Traditional tufting makes horizontal and vertical folds out from the center of each tuft to the edge. My fabric didn't want to work that way and it was naturally going into a diamond pattern so I just stuck with it.

To attach it above my bed I put three nails into the wall and hung it very simply from the wood frame. I left about a pillows width from my mattress to the bottom of the headboard.


You'll be so pleased with the finished product. I think its certainly worth the time and effort.
I am more than willing to answer any questions. Good luck and happy tufting!
K
Comments
She's also got one for a free standing headboard similar to what you've done. It may be a long time from now, but I may pick your brain when I get around to my twin beds! I like the idea of using buttons on the back fo the pegboard to secure the thread. Seems more secure than using a staple gun.
I'm not sure if i'm gonna leave it free standing. I may end up making some frame so it can connect to the bed. Depends how much effort I want to put into it. But yes, the buttons on the back worked really well and I could tighten them up really easily.
Definitely ask if you have any questions when you get around to it. It took me a long time to work up the courage. :)
This looks awesome! So chic!