
Knock- Down, Not Off Texture


Immediately following drywall was a relatively quick spraying of texture on all the walls and ceiling and then, as I was corrected by Casey from my previous post, the knock- down technique, not to be mistaken by knock-off. I wasn't sure I wanted texture on the walls. To me, I wanted our walls to look smooth and clean, maybe because of how horrible the walls looked prior to our renovations. But I was wrong. Texture has such a great way of camouflaging all sorts of lumps, cracks, and holes. Plus it makes every wall fit together in a wonderful uniform way.

Here's some post texture in the bathroom.


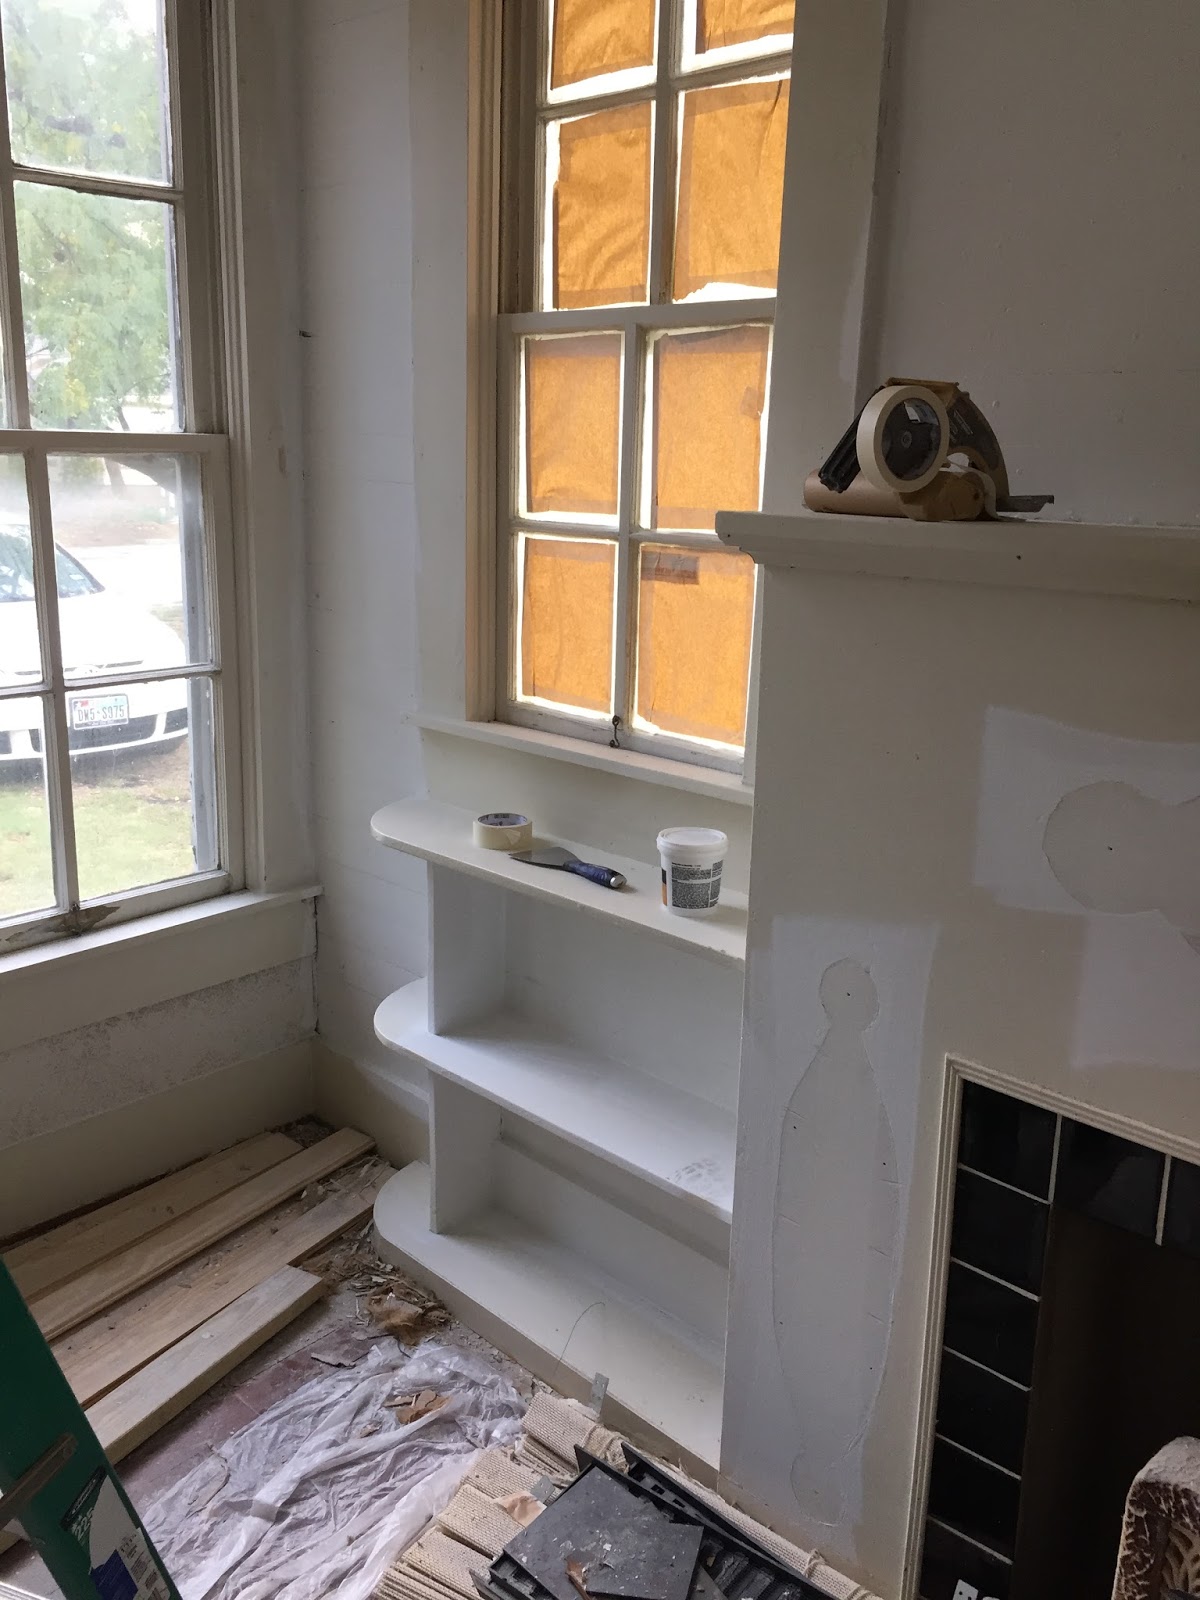
Here's some before texture of the bedroom and living room walls. The white patches are mud filling in major dips and cracks in the walls. They were taped off and ready to go.
One thing I think made such a difference in the outcome of our fixer-upper was the ceilings. They 'floated' the ceilings, which just meant they were smooth and level. When I look at the before images, that's something that stands out to me that makes the room as a whole look so much more new. 


Here's some images of the texture on the kitchen walls. I wasn't sure at this point on every room color, but I knew I wanted the kitchen to be white. Since the cabinets were white, and we were keeping our black countertops to stay in budget, I wanted to create a minimalist, all white look.


And there is that solid wood door as spoken of before, that I'm pretty sure Casey secretly threw in the dumpster. I'll get over it eventually. The living room got a nice dose of texture. The fireplace wall we left exposed shiplap and it got a fresh coat of white paint.


And our bedroom texture. I couldn't wait to replace those dated ceiling fans. The amount of dust build up on the blades was enough to make Casey gag.


One thing I became aware of, as we started working late nights at the house, was the lack of overhead lighting. Because there are a million windows in this house I just assumed that would be our main source of light. I didn't think at all about after dark.
We decided to put in some recessed can lights in the bathroom, living room, and kitchen. In the kitchen I wanted a couple pendant lights to hang over our sink and thought at first that would be enough light. I am SO glad we decided to add two can lights in the kitchen because it would've been miserably dim. It's laughable now, just thinking about those pendant lights.


And finally, the beginning of white trim paint in the living room to cover up the dingy cream, needs-an-update trim. When I saw all of the white, I thought about painting the entire house white. It was a thousand times better than the original brown, so bright and airy.

Next couple posts are the extra exciting parts for me. :) Stay tuned.


Comments

Popular posts from this blog

Life with a new smile!

So I'm finally finished with my clear aligners journey. One year later and I have a completely different smile and I still can't get over how much my teeth have changed. I'm so thankful for Dr. Morgan and all of his excellent staff that helped me through the entire process. It was SUCH a fun day at the office getting my last tray done and the buttons removed. Its pretty exciting when the whole office is invested in your journey and just as excited as you are to see the finished product. Check out an awesome video of my transformation at the bottom of this post! Here's my pre-aligner smile. I didn't think I had a particularly bad smile before my aligners, now I'm amazed at how bad they were. Here's how they look now!! Here's a really great video of my smile transformation. Thank you Aesthetic & Implant Dentistry for doing such a fantastic job on my smile. 😁    

The Paint'n Place.

During my recent trip to Bowling Green, KY I was fortunate enough to stop in on The Paint'n Place.  (<<check out their website) During my three years at WKU I spent almost all three working at this lovely pottery painting studio. It's one of a kind in BG and the staff here really became family to me when mine were so far away. It's such a cute happy studio with so many amazing pieces to paint. I was honored to see a lot of my samples still up on the shelves, and it brought back many fond memories. They do birthday parties, ladies nights, canvas painting parties, custom painted pieces, and new glass fusion! It's all seriously cool. My favorite thing about The Paint'n Place is the fact that everything you paint is so personal to you and makes something like a mug or a plate so special and unique. Of course I couldn't go in and not paint something, but I can't show you since its a gift for a special bride to be. Mrs. Linda Henry has put so muc

Deep Diamond Tufting.

I'm not sure why I wanted to make a tufted headboard. Maybe I saw one in a film or something but before too long I was combing through every tutorial or YouTube video I could find about it. That was a year ago. So this weekend I put my big girl panties on and summoned the courage to finally build my headboard. My favorite tutorials found  here , and here . Mine certainly won't be as good as theirs so I'll keep it brief. I think my total for all materials came to around $85 but then again my math is horrible so...  Make sure you take advantage of JoAnn's incredible sales. I think I saved $60 dollars when I went. I scored on my fabric too, only $9 a yard.  The most annoying part of this process, as all blogs stated, was the buttons. And I'd have to agree with them. They were so small. The fabric was so thick. The little tool that pushes the button together sucks so... with Mummy's help, my solution was pliers. Just use pliers. It will save your finger