
Trim and Cabinets


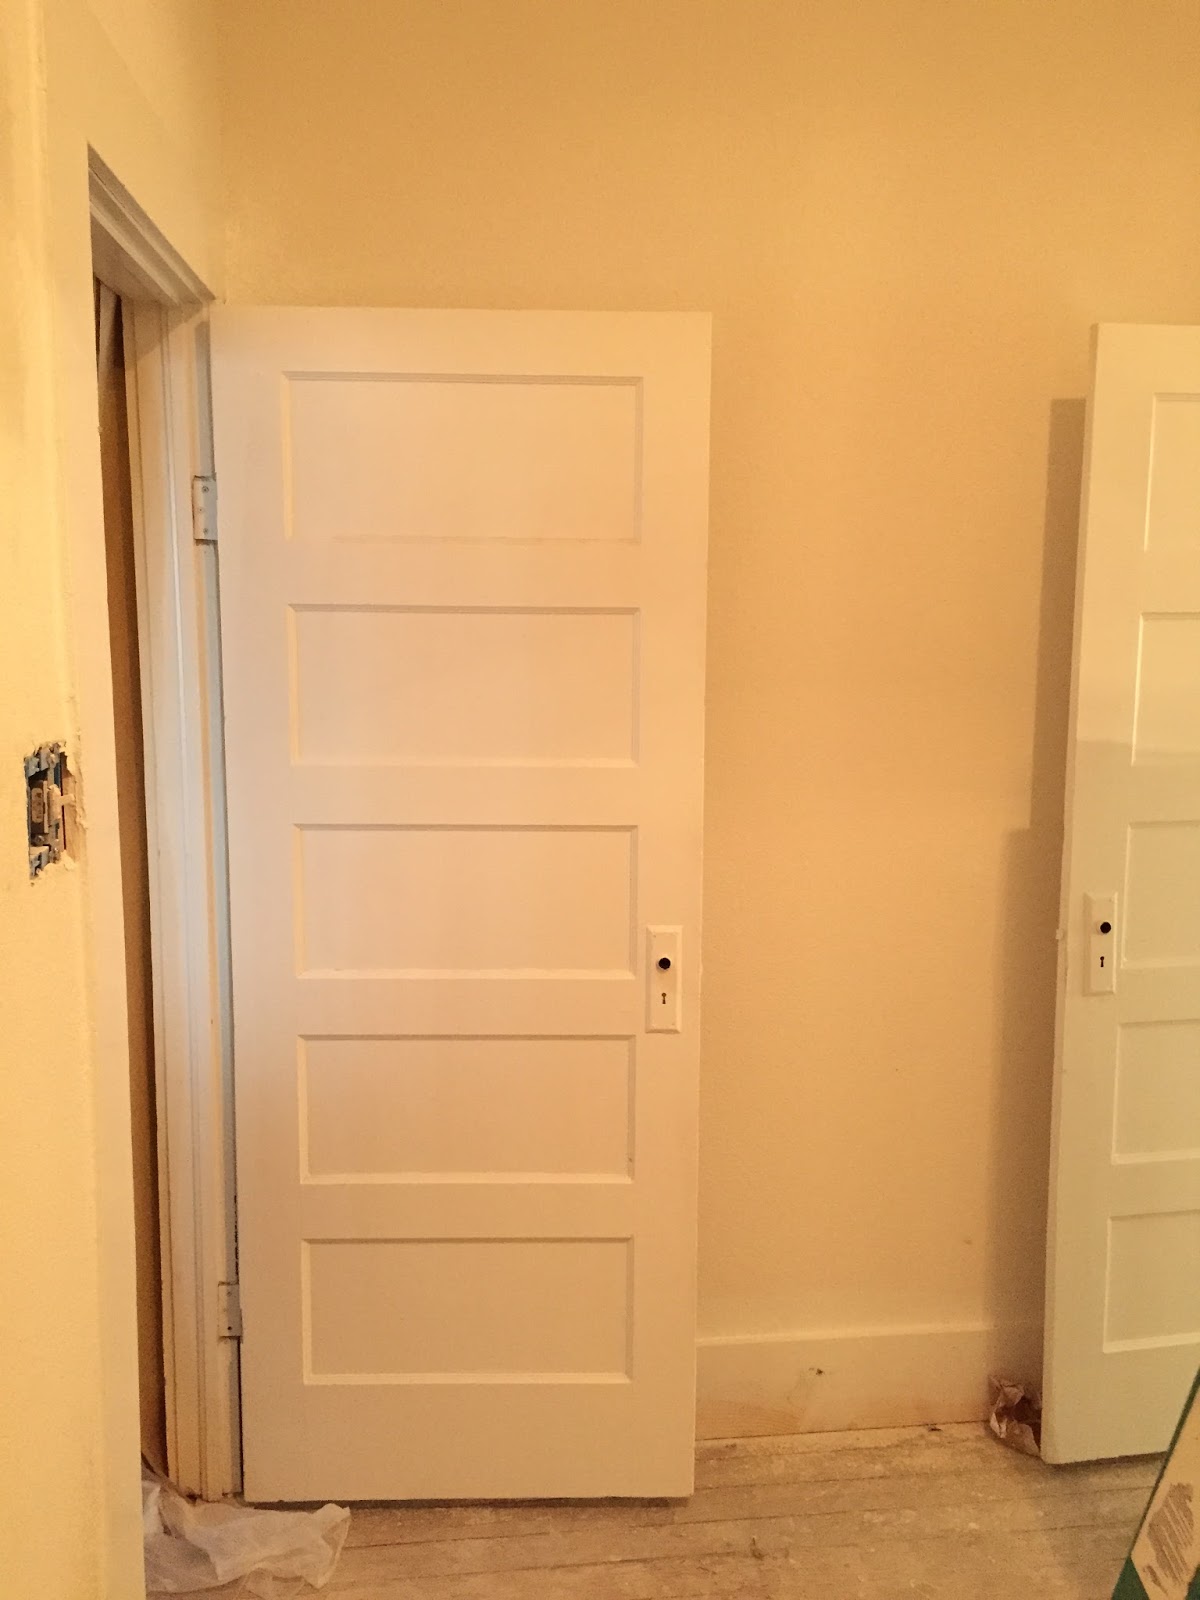
Bathroom texture had dried and we were now ready for wall paint and trim paint. They painted everything a bright white, including door and all baseboards and trim. It was such a refreshing sight to see everything looking so fresh and so clean.


In our bedroom we had a weird metal grate in the floor, which we discovered was a floor furnace. It hadn't been turned on in a while and was full of dust. We didn't want the grate in the floor since it was right when you walked in so Casey took it out and they put new floor boards over the area.


The painters gave our kitchen cabinets and hardware a coat of white. This made all the difference to me. After seeing the big brass hardware it was just too overwhelming in the kitchen. I tried polishing the hardware, to restore it to a nice gold brass color, but it wasn't working like I wanted it to. So now its painted all white, its much easier on the eyes.


The brothers worked on the broken and rotting fascia on the roof and replaced a few random pieces of siding that needed some love. The exterior of the house was really coming together and just needed some pressure washing/sanding, and a new paint job.


Here's some more of the new white trim. Everything was looking very bright. I was so happy to be rid of the brown walls. 


And the most exciting part of this post, to me, is the newly sanded patch of flooring for our sample stains. We decided to hire the one man who told us he was able to sand down our floors and restore them. He works old, turn of the century, houses in Dallas and told us he's seen floors in much worse condition and brought them back to life. Casey and I were thinking about doing it ourselves, but I am so glad we hired this man. He definitely knew what he was doing. After seeing just this small rectangle sanded down, I was doing the heart-eyes emoji. I can't even remember, now, what stain I chose. I think it was the darker of the two. I didn't really care, I was just so happy that it was going to work and we would be able to see the beautiful wood grain. Now our flooring is not perfect. There is still a huge lump running through the two bedrooms and some pretty major cracks between the boards, but to me, it's as close as we were gonna get to perfection in a house built in the 50's.

Next post is one you don't want to miss. 
The big reveal of our newly sanded floors and bathroom tile!


Comments

Popular posts from this blog

Clear Aligners!

It's been a while since I've posted on here, but I am so excited to bring you along for this exciting new adventure!  If you know me at all, you know that my teeth are pretty crooked. (Blame it on my English roots) They always have been, and I watched as my high school friends upgraded their smiles with shiny new braces. But I never wanted train tracks. If that was the option, I was resigned to the state of my smile. Then came Invisalign. A revolutionary idea to use clear plastic to align the teeth. No doubt you've seen, or heard, or even been blessed with them yourself. Dr. Morgan uses the same technology but a different product called SureSmile . Since I've been taking patient photos for  Aesthetic & Implant Dentistry  for a little over a year I've been blown away by the smiles in that office. I didn't think twice about my teeth until I started photographing their gorgeous patients. The friendliness of the staff just makes all their smiles th...

Deep Diamond Tufting.

I'm not sure why I wanted to make a tufted headboard. Maybe I saw one in a film or something but before too long I was combing through every tutorial or YouTube video I could find about it. That was a year ago. So this weekend I put my big girl panties on and summoned the courage to finally build my headboard. My favorite tutorials found  here , and here . Mine certainly won't be as good as theirs so I'll keep it brief. I think my total for all materials came to around $85 but then again my math is horrible so...  Make sure you take advantage of JoAnn's incredible sales. I think I saved $60 dollars when I went. I scored on my fabric too, only $9 a yard.  The most annoying part of this process, as all blogs stated, was the buttons. And I'd have to agree with them. They were so small. The fabric was so thick. The little tool that pushes the button together sucks so... with Mummy's help, my solution was pliers. Just use pliers. It will save your finger...

Animals For Days. [Part I]

  This is an extremely delayed post, but I wanted to wait until some of the pieces got fired so I could show you the finished results. These high school kids really blew me away with their creativity. All these pieces are made from two pinch pots so they are all completely hollow. The students came up with their own design for the animal and after I taught them how to create a hollow 'egg' shape they added all the features. I also couldn't get enough of all the minions. They were the cutest things. More pictures to follow.   K