
Foundation


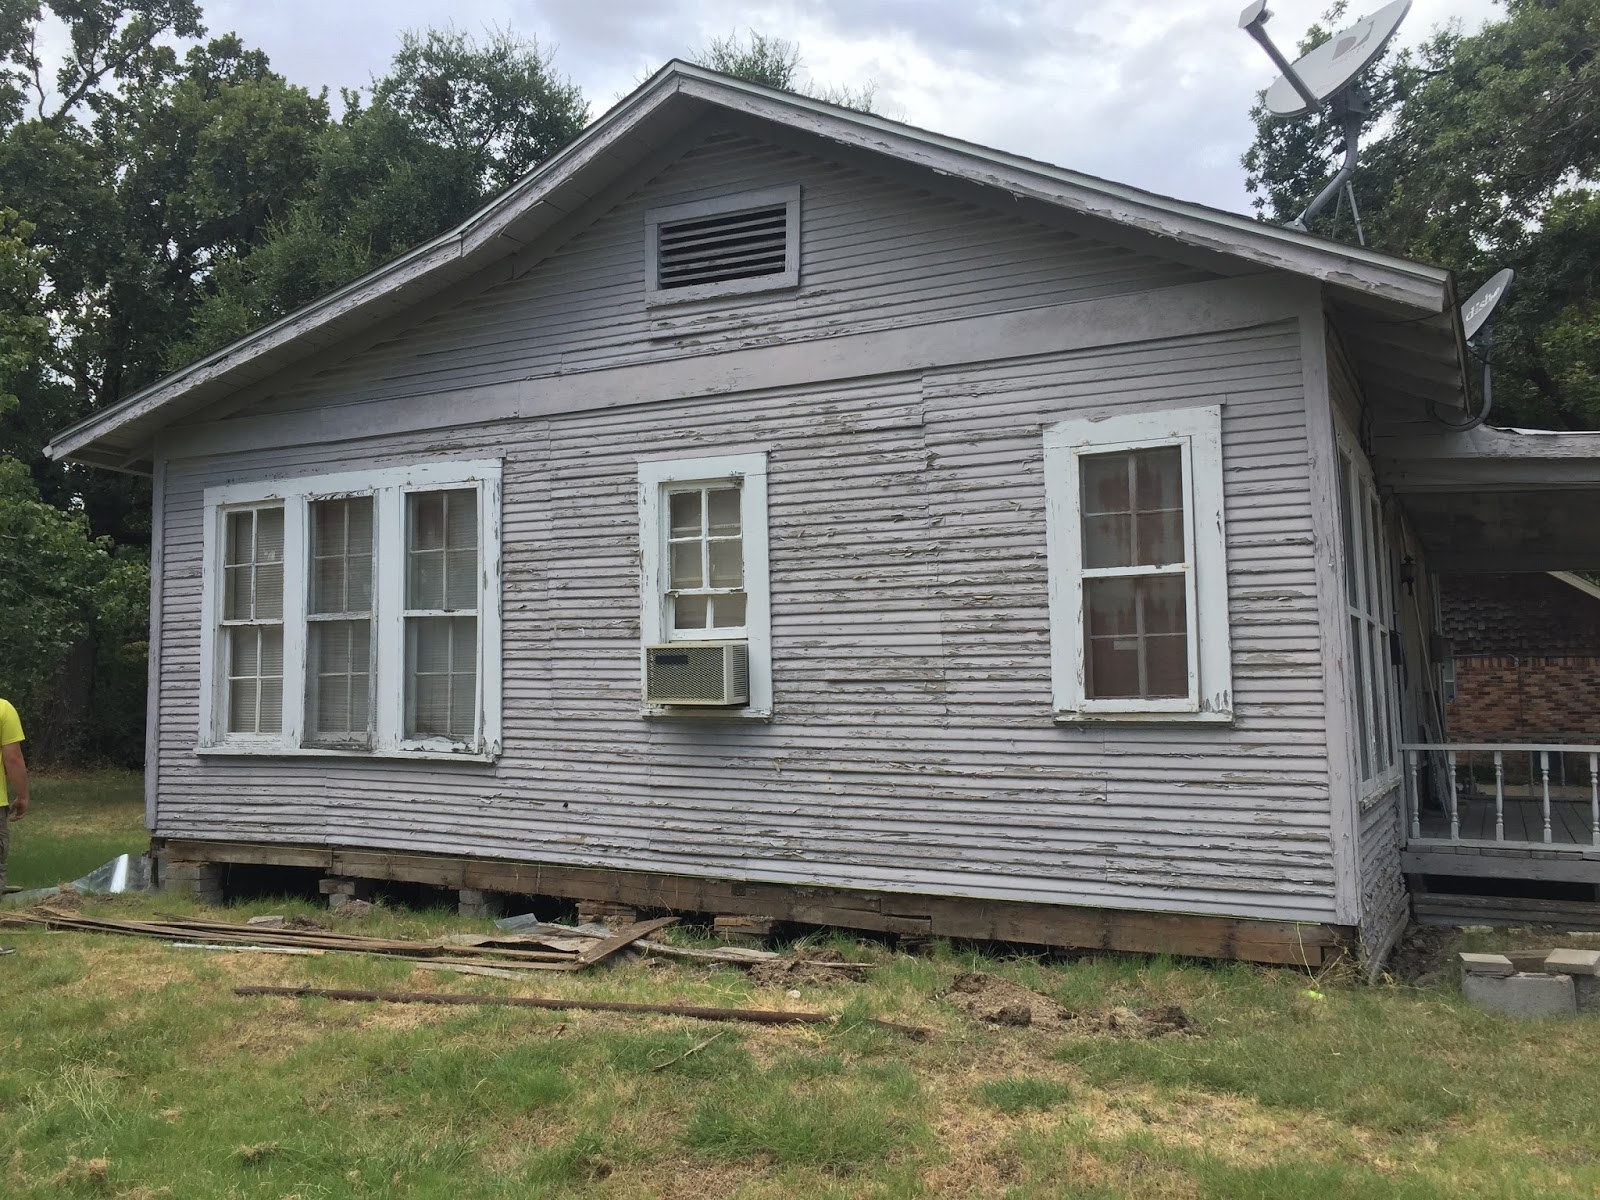
The next biggest overhaul that needed to happen to our little house was the foundation. The images don't really do it justice, but there was a giant hump running from the bedroom through the bathroom and guest room. We knew something was off but really had to get underneath the house to see the true damage. 
What we discovered was that our house was built on Bodark wood stumps. Yes. Our house was sitting up on wood and from a couple of those pictures you can see how badly it was leaning at the front. Bodark trees are native to Arkansas, Oklahoma, and some places in East Texas and were used on many pier and beam foundations because the wood can last over 100 years before decaying.
In an effort to save us tons of money, Casey and his father worked for about a week removing each bodark stump from the ground and filling the pier with new cement blocks. They replaced about 50 stumps buried about two feet into the ground. Not only that, but they were underneath the house with very little clearance. Definitely wasn't a job for me. 
A friend came to look at the foundation before we started. I didn't realize that he had a prosthetic leg and noticed when he removed it to crawl under the house. It was pretty hilarious seeing a leg sitting there, so naturally I took a picture.


Here's the finished foundation. So much more level than before. Now when it rains hopefully the cement blocks won't sink into the ground and shift the house again. Our next step is to seal off the foundation so water can't run under the house. This was a huge job and I'm so thankful Casey, and his family were able to do it themselves and worked so hard.


And I leave you with a super cute picture of our nephew Jacob. He was desperate to be just like his uncle Casey and crawl under the house to help with the foundation. 


Comments

Popular posts from this blog

Deep Diamond Tufting.

I'm not sure why I wanted to make a tufted headboard. Maybe I saw one in a film or something but before too long I was combing through every tutorial or YouTube video I could find about it. That was a year ago. So this weekend I put my big girl panties on and summoned the courage to finally build my headboard. My favorite tutorials found  here , and here . Mine certainly won't be as good as theirs so I'll keep it brief. I think my total for all materials came to around $85 but then again my math is horrible so...  Make sure you take advantage of JoAnn's incredible sales. I think I saved $60 dollars when I went. I scored on my fabric too, only $9 a yard.  The most annoying part of this process, as all blogs stated, was the buttons. And I'd have to agree with them. They were so small. The fabric was so thick. The little tool that pushes the button together sucks so... with Mummy's help, my solution was pliers. Just use pliers. It will save your finger...

Animals For Days. [Part I]

  This is an extremely delayed post, but I wanted to wait until some of the pieces got fired so I could show you the finished results. These high school kids really blew me away with their creativity. All these pieces are made from two pinch pots so they are all completely hollow. The students came up with their own design for the animal and after I taught them how to create a hollow 'egg' shape they added all the features. I also couldn't get enough of all the minions. They were the cutest things. More pictures to follow.   K

The Stinnett's.

I absolutely loved taking photographs of the Stinnett family. There were certainly lots of laughs along the way, which made my job easier. A few melt downs (those trains will get you all the time), but nothing this sweet family couldn't recover from. They're such a fun, silly lot and it was my pleasure to capture some moments for them.  [All photos taken on the Canon Rebel T3i] For questions about sessions and pricing, message me on Facebook, or email at katie.e.hudson@gmail.com. K