

This post spans a couple days of work but I thought I'd lump it all together in one post.
The first thing I was dying to discover was more wood shiplap. I had this vision of having the fireplace wall be wood and the rest of the walls being painted. So we peeled off some of the drywall and sure enough, wood! Casey tells me that it's tongue and groove shiplap a.k.a. the real deal. I think its absolutely beautiful. We also ripped off these weird wooden inserts on the fire place mantle.
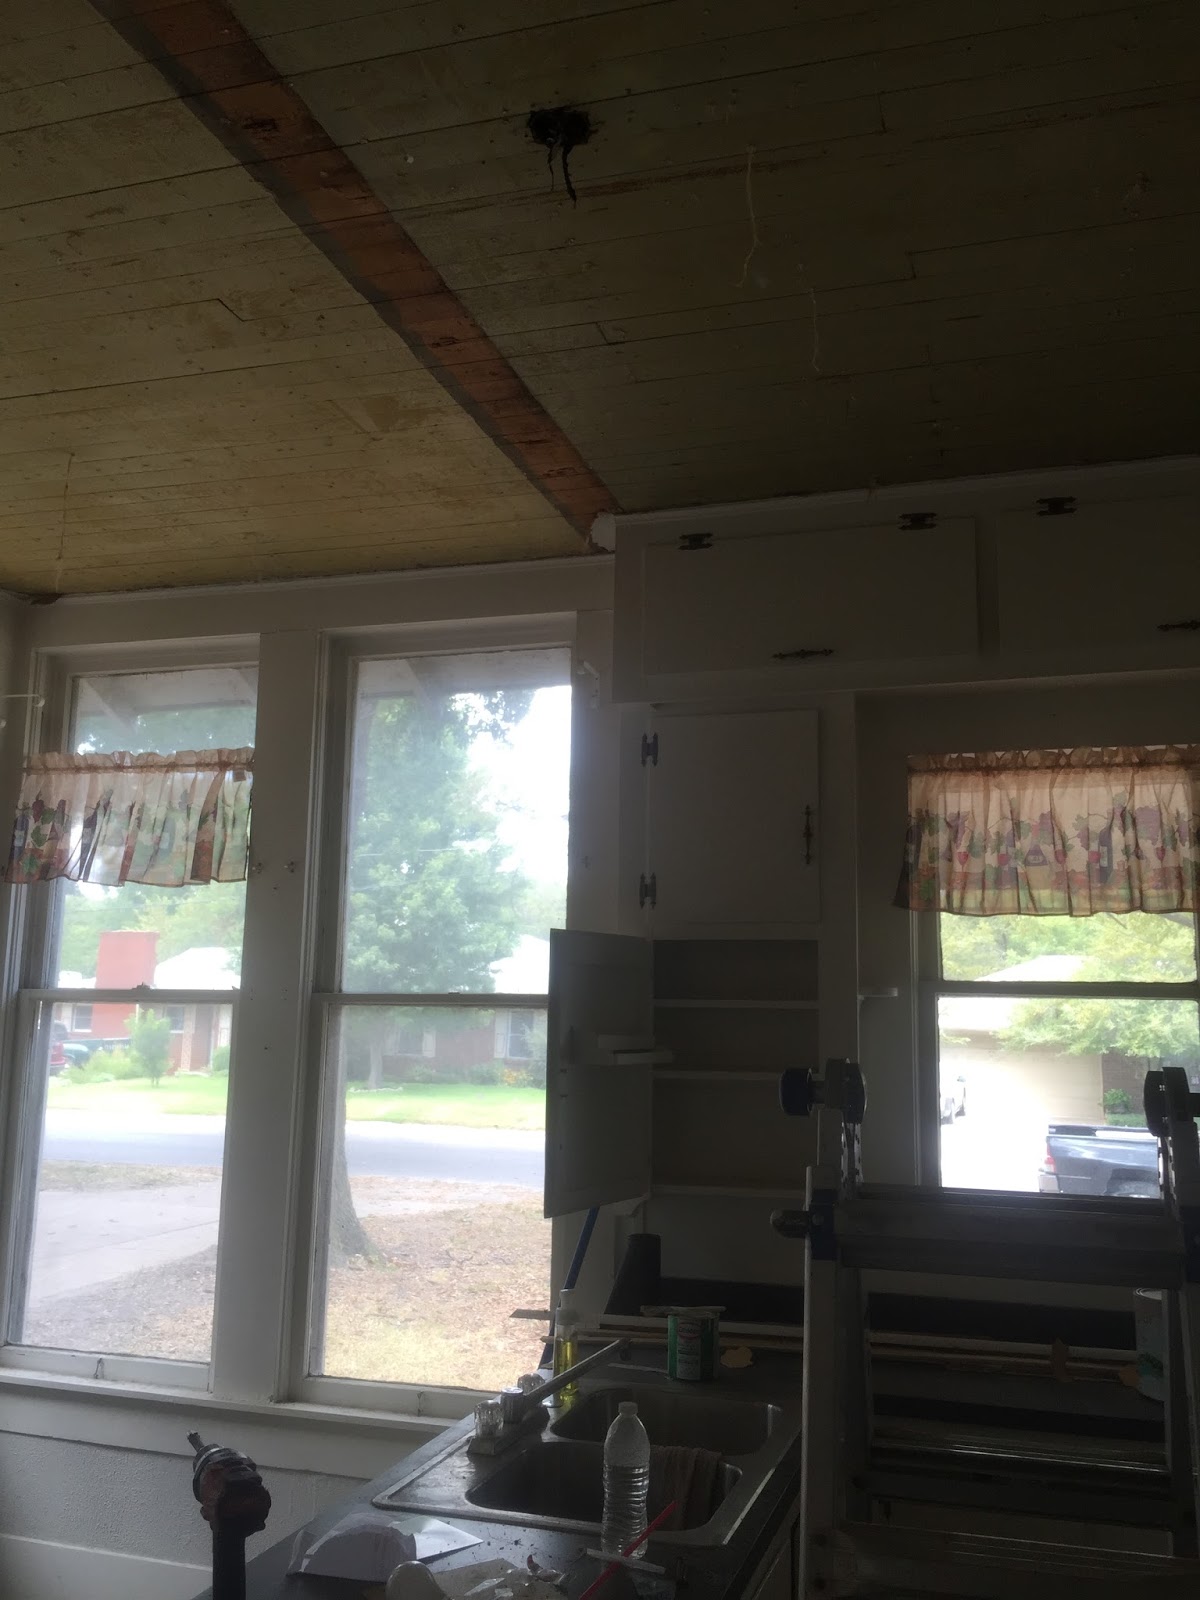
And look! the green paint again. It showed up in the bathroom walls too. After working on the house for a while we discovered, from some of the sweet neighbors we got to know, that the house itself was an old school house that was moved to its current location. The color sort of makes sense now, and you can tell from the exposed ceiling wood that original walls have been moved. So being a teacher myself, that makes the house that much cooler to me. One of the veteran teachers at my school also lived in this house when he was a newlywed. So its a sweet little house with lots of happy memories for many people.
We discovered electrical plugs everywhere and in strange places. There's one next to Casey (in the picture below) half way up the wall. Not sure what that one was intended for.


Another major job we tackled was the closet. Since Casey and his brother and father have construction experience Casey went right to work with the demo. Casey's brother came over to help frame up the walls and started to put together the closets. We decided, instead of making two closets the same size, to make the master closet deeper and just have a small linen closet in the guest room.
In the bathroom there was a floor to ceiling cabinet (which I didn't get a picture of) with multiple shelves that you literally couldn't reach to the top shelf. It was totally impractical, and taking up valuable space in any closet we wanted.
We finally got all the vinyl flooring up in the kitchen and also ripped it out of the closet too. It was an awesome surprise to find pretty pine wood floors in every room, and in an okay condition at that. But because the floors had years of vinyl on top of them and tons of screw holes it wasn't looking good for us to be able to sand down and refinish the floors. We had a few guys come look at them. Two of them said no, and one guy said yes. I'm pretty sure, seeing how young we both look, they weren't giving us straight answers, but I was sure, after my years of HGTV watching, that it had to be possible.


I think the only thing I wish we could change about the house is the paint color. It was so hard to pick a color. At first I wanted a really light color, and almost have this beachy/coastal look. Then I flip flopped to a really dark color which I thought would look amazing with white trim.
Here's a couple of our paint samples we tested. Color reacts so differently to others colors in close proximity, which is weird to me. But they looked so different painted on the wall than they did on the paint chip paper. I'll follow up on our final paint color decision in a future post.


Casey, his brother, and his father worked so hard on this house. I'm blessed to have Casey. He dropped what he was doing for two months to fix it up, and he worked on it almost every day.
He's pretty great.
We're both grateful for his brother and father that, without hesitation, offered their time and energy to help us get it finished before the wedding.
Stay tuned for more. :)

Comments