

[Heads up: This post is long. I thought I'd cram about two weeks into one post.]
Dry wall went up in the bathroom against our closet wall. We then had to do something with the bathroom arrangement. Because of where the big window was on the exterior wall, it made it really difficult to fit any normal sized bathroom fixtures in the space. I really wanted the natural light, but in the end, it was gonna make everything else really awkward and we would have to spend more money moving the plumbing. So we took out the window. Looking back on it, I think we made a really good decision because we saved a ton of money.
Cody, Casey's brother, came over to help with drywall and taught me how to use Mud to fill the spaces and cover up the screws. I did most of the bathroom wall. By far my favorite job on the house! To me it felt like clay, which is probably why I loved it so much.
On a side note: you can see from these first few pictures, the beautiful original glass door knobs. *Swoon*


Here's the other side of the bathroom and the patched exterior wall that Casey and Cody worked on. More green wood that I'm assuming came from the old school house days. We took out the miniature tub and shelves attached to the end of the tub. We decided the toilet was in a weird place so we chose to rotate it against the guest bedroom wall. It was a relatively simple fix for the plumber since all the pipes would still remain in the same spot. We kept the shower and sink plumbing on the same wall, again, saving us money.


Our master closet is coming along. All the drywall is up and mud is happening. They used the space really well and built a little shelf at the very top instead of making the other closet floor to ceiling. Although its still pretty tight, its such an improvement from the original closet.


Here's a couple random pictures of what the chaos looked like as we were working on things. Holes in the floor and we bought our tub and shower walls! We ended up going with a tub with pre-made shower walls. As much as I wanted to tile the entire wall with subway tiles and create a standing shower, it was just too much money and work. We considered re-sale as well when we bought the tub. If we ever need to sell the house, I wanted the house to cater to a family with children as well.


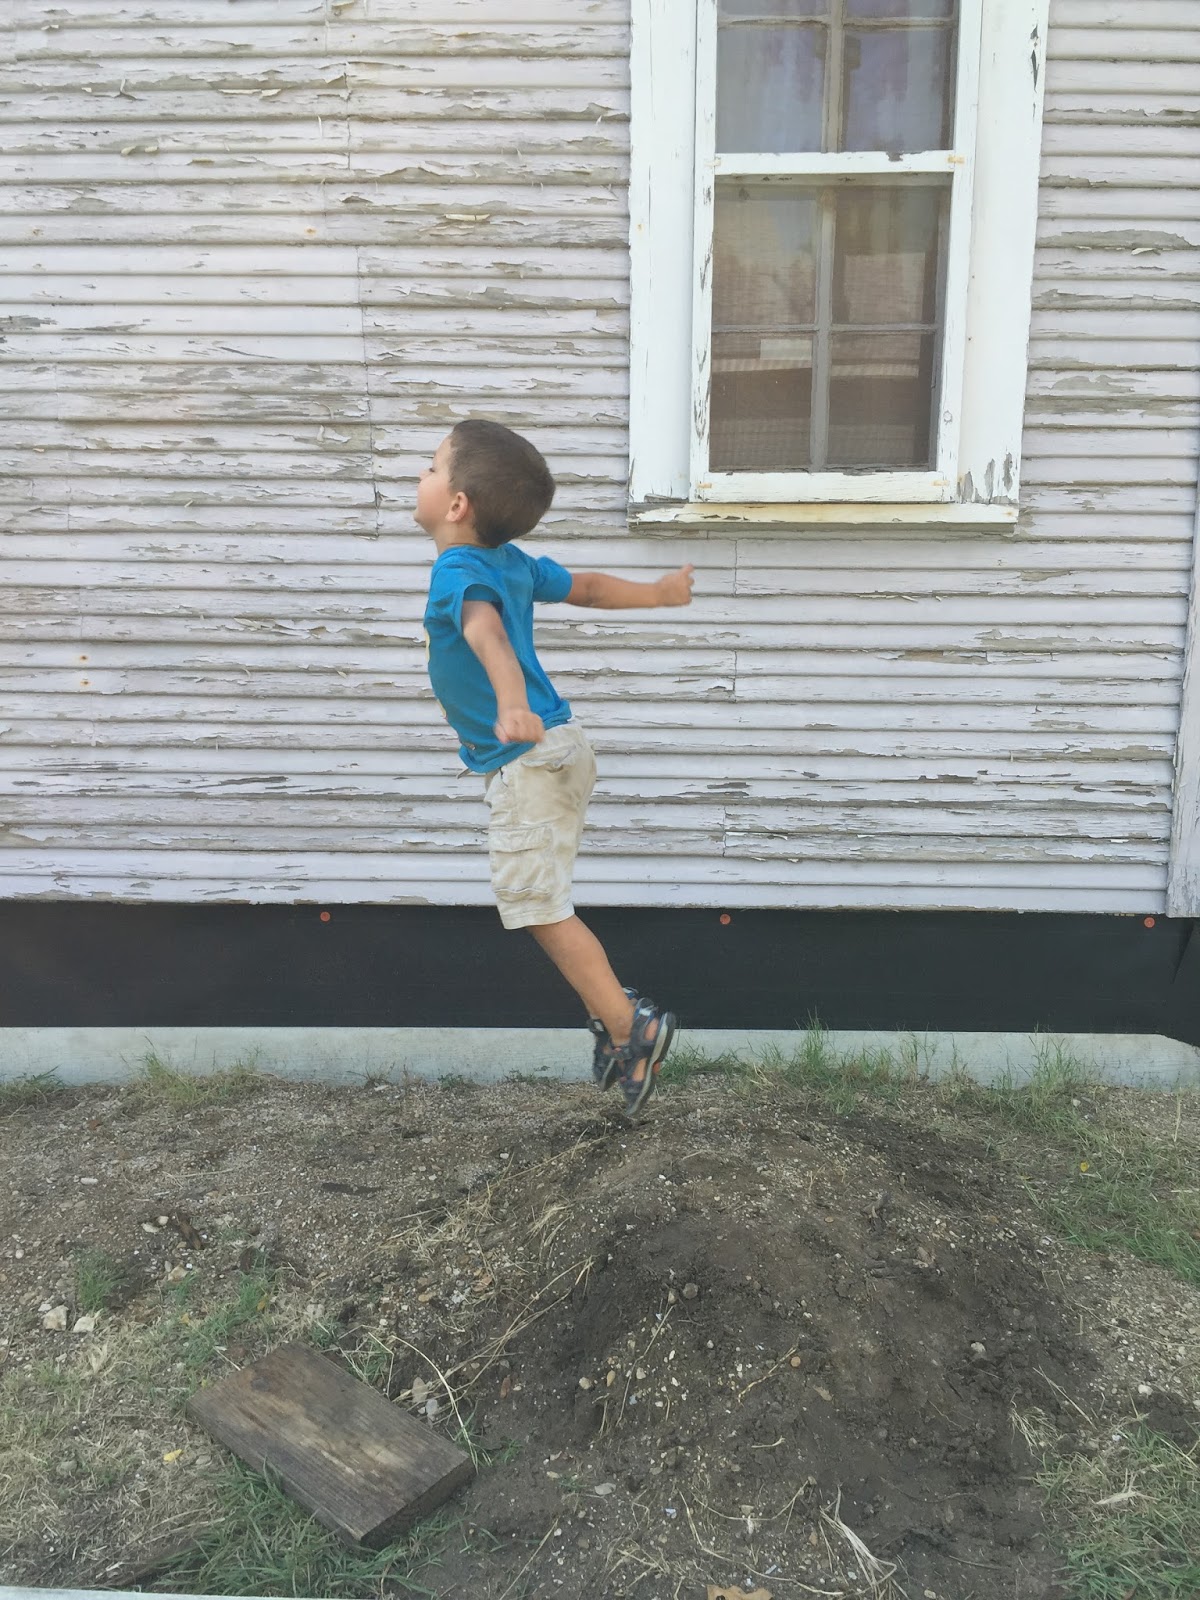
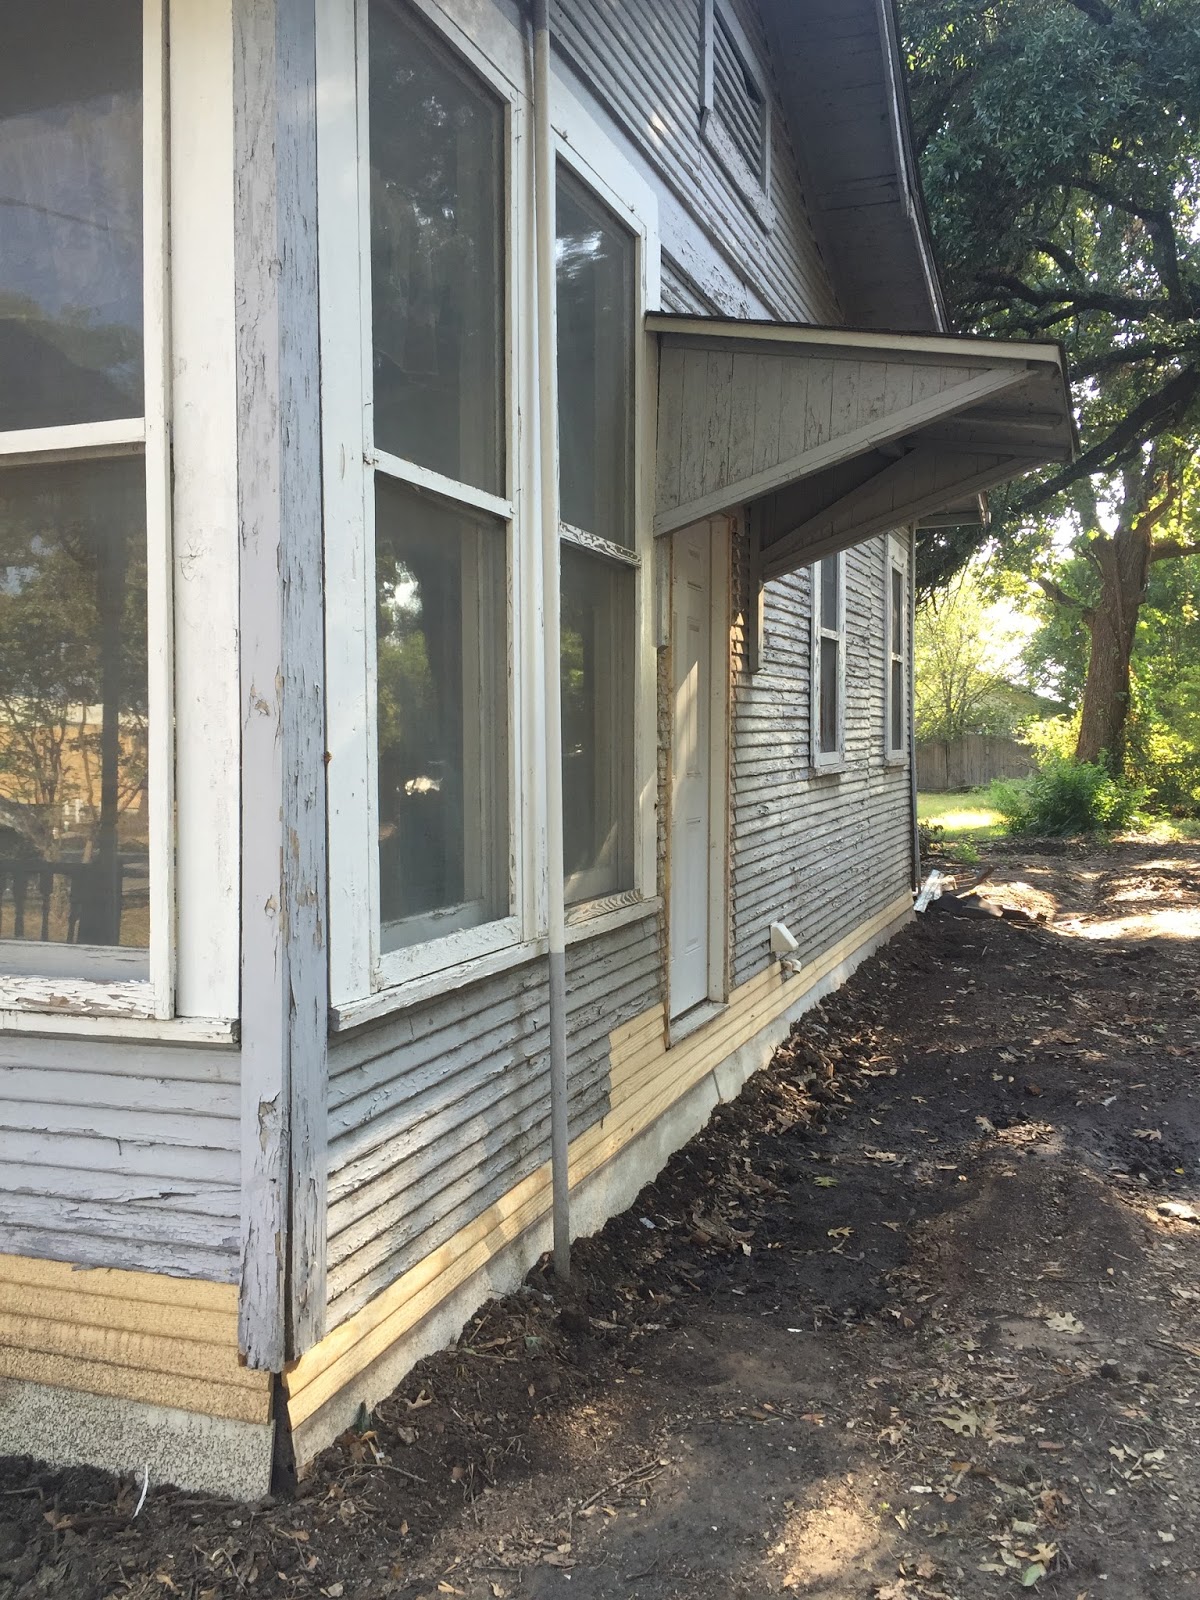
Outside we started to seal up the foundation. Using a water proof felt paper we draped and nailed it down around the entire perimeter of the house. Then covered the paper with cement hardy siding to, hopefully, ensure that water won't ever run under the house again.
Here's a picture of Cody's son, Truett. I asked him to do a jumping picture. The second one makes me laugh so hard. It's too cute.


The front and back porch both needed a little TLC. Casey, Cody, and their father George all worked on replacing the floor boards and fixing the cute gingerbread banisters. The porch itself was also leveled because like the house, it had shifted over the years.
And then new siding was put up around the base of the house where the foundation was fixed.
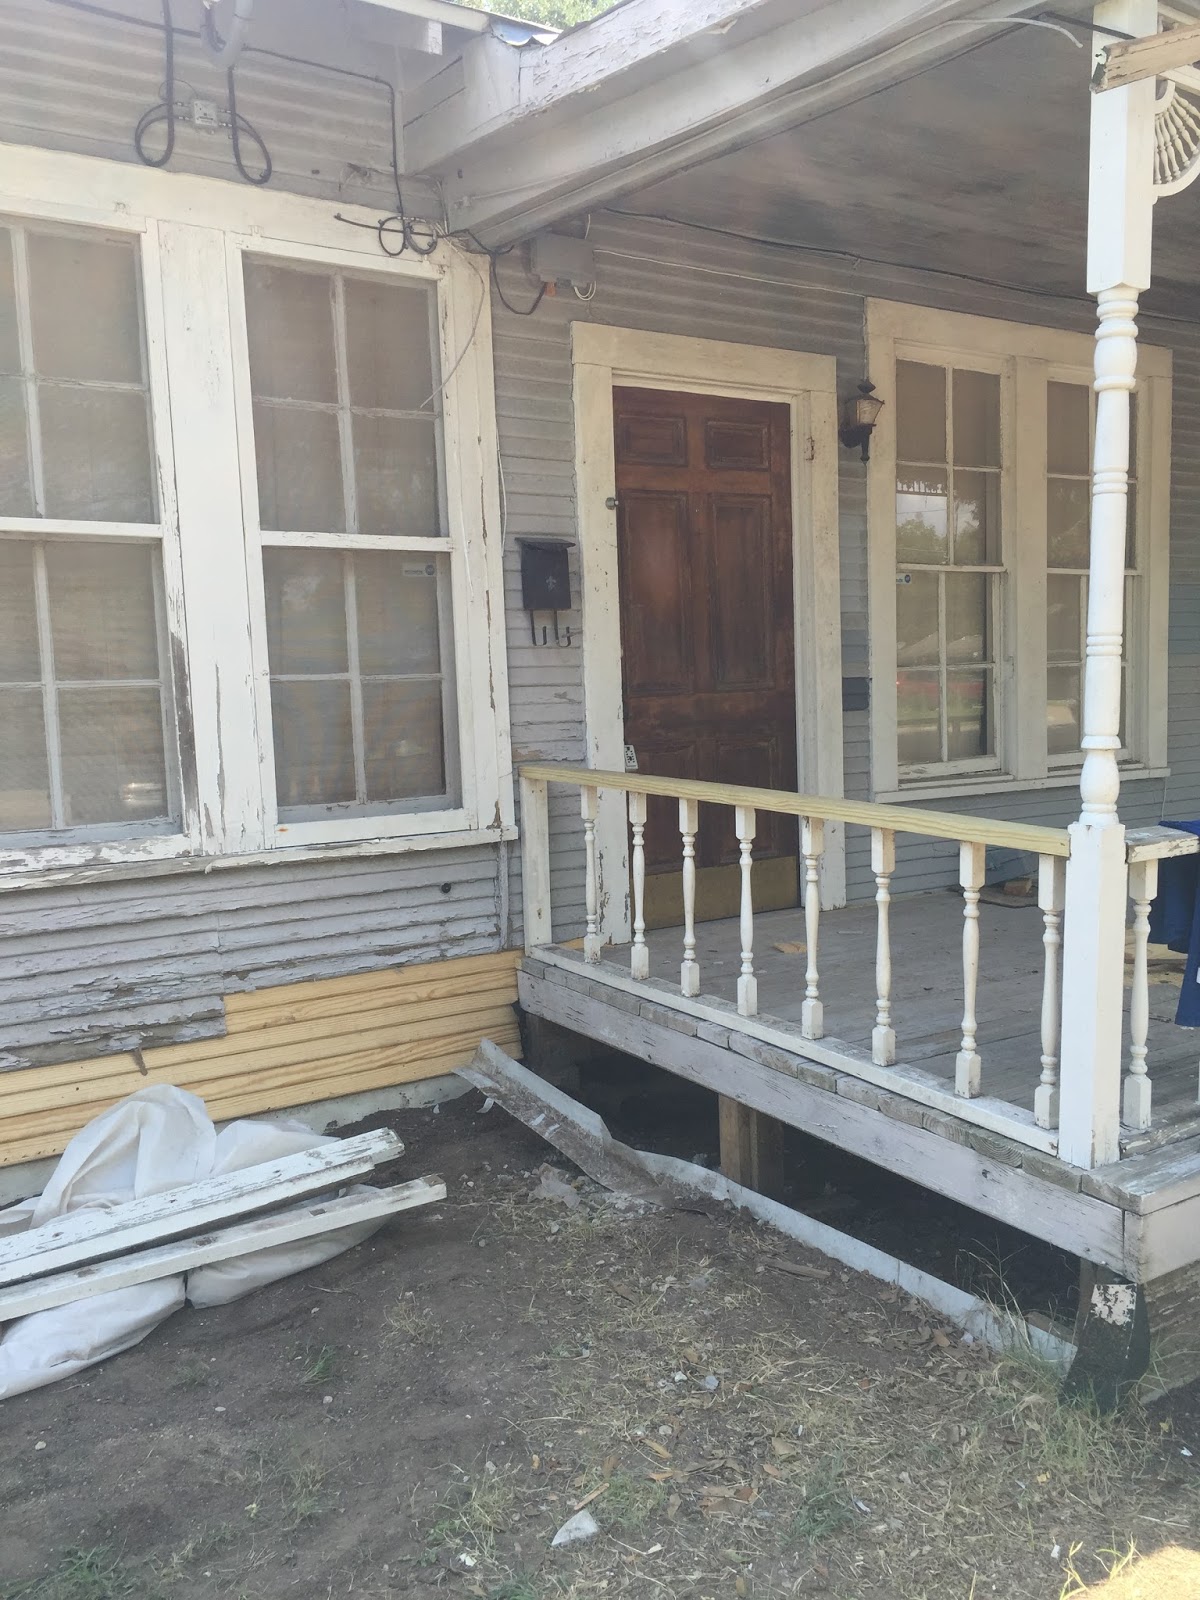


The back porch needed to be pulled away from the house so that the foundation could be reached. (Putting it back on was fun...)
We noticed while taking the window out, that the house was insulated, but not very well. It probably needed to have new insulation put in all the walls. But that was a huge job, that we kinda skipped. We're in the winter months right now, and haven't noticed it being too cold yet. So I think we were okay cutting that corner.

Comments